Choosing binoculars for birding on open farmland
As an Amazon Associate I earn from qualifying purchases.
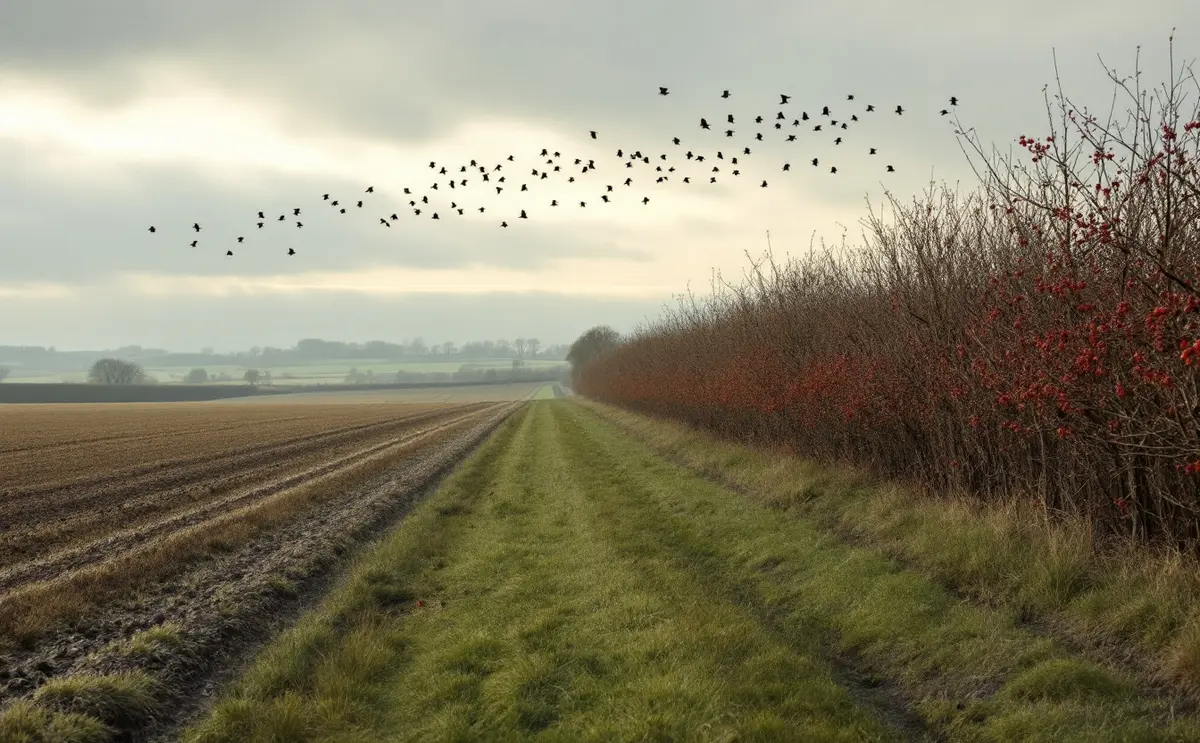
Farmland birding asks a lot of a pair of binoculars. One minute you are looking at a yellowhammer on a hedge top twenty metres away, the next at a flock of lapwings on a ploughed field half a mile off, and then at a buzzard drifting against a white January sky. You might be out for three or four hours on a wet chalk path with the light failing at four o'clock. The binoculars that suit a bird hide or a garden window are not always the ones that suit that.
This guide explains what the numbers mean and how to weigh them up. Nothing here has been tested for this piece and no prices are given. It is about what to look for when you hold a pair yourself.
The two numbers on the barrel
Every binocular is described by two numbers, such as 8x42.
The first is magnification. An 8x binocular makes a bird look eight times closer than it does with the naked eye. The second is the diameter of each objective lens, the big lenses at the front, in millimetres. Bigger objectives gather more light, but they also mean a bigger, heavier binocular.
For birding the sensible range is narrow. Below 7x, birds at a distance stay too small. Above 10x, most people cannot hold the image steady enough to see detail without a support, and the view becomes narrow and dim. So the real choice is usually between 8x and 10x, and between full-size 42mm objectives and the more compact 32mm.
The formats compared
| Format | Exit pupil | Typical strengths | Typical drawbacks |
|---|---|---|---|
| 8x32 | 4.0 mm | Light, compact, easy to carry all day, often a wide view | Less bright at dusk and in dull weather |
| 8x42 | 5.25 mm | Bright, steady, wide view, the all-round birding choice | Heavier than a 32mm |
| 10x42 | 4.2 mm | More detail on distant birds in open country | Shakier image, narrower view, harder to find a moving bird |
| 10x32 | 3.2 mm | Compact with high magnification | Dim in poor light, shaky |
The figures in the exit pupil column are simple arithmetic: divide the objective size by the magnification.
Exit pupil and the January afternoon
The exit pupil is the little disc of light you see floating in each eyepiece if you hold a binocular at arm's length against a bright sky. Its size, in millimetres, is the objective diameter divided by the magnification, so an 8x42 gives 5.25mm and a 10x42 gives 4.2mm.
It matters because your own pupil changes size. In bright sun the pupil of the eye is small, so any of these formats delivers more light than you can use. In dull light the pupil opens wider, and a larger exit pupil keeps the view bright. Our pupils also open less as we get older, so the advantage of a very large exit pupil fades with age.
On open farmland in summer, exit pupil hardly matters. On a grey winter afternoon, watching a barn owl along a field margin at dusk, an 8x42 will show you more than a 10x32. That is part of the reason 8x42 is so often treated as the standard birding format.
Field of view: finding the bird
Field of view is the width of the scene you see through the binocular. Makers give it either as an angle in degrees or as a width in metres at 1,000 metres. One degree is roughly 17.5 metres at that distance, so a binocular with a 7 degree field shows a strip about 122 metres wide.
A wider field makes it easier to get a bird into view quickly, to follow a flock of finches bouncing along a hedge, or to pick up a hawk crossing the sky. Higher magnification narrows the field, which is one reason a 10x can be frustrating with small birds that will not sit still. Two binoculars of the same format can differ noticeably here, so compare the figures on the specification sheet.
Close focus
Close focus is the nearest distance at which the binocular gives a sharp image. Many birding models focus to around two metres. Some entry-level ones stop at four or five.
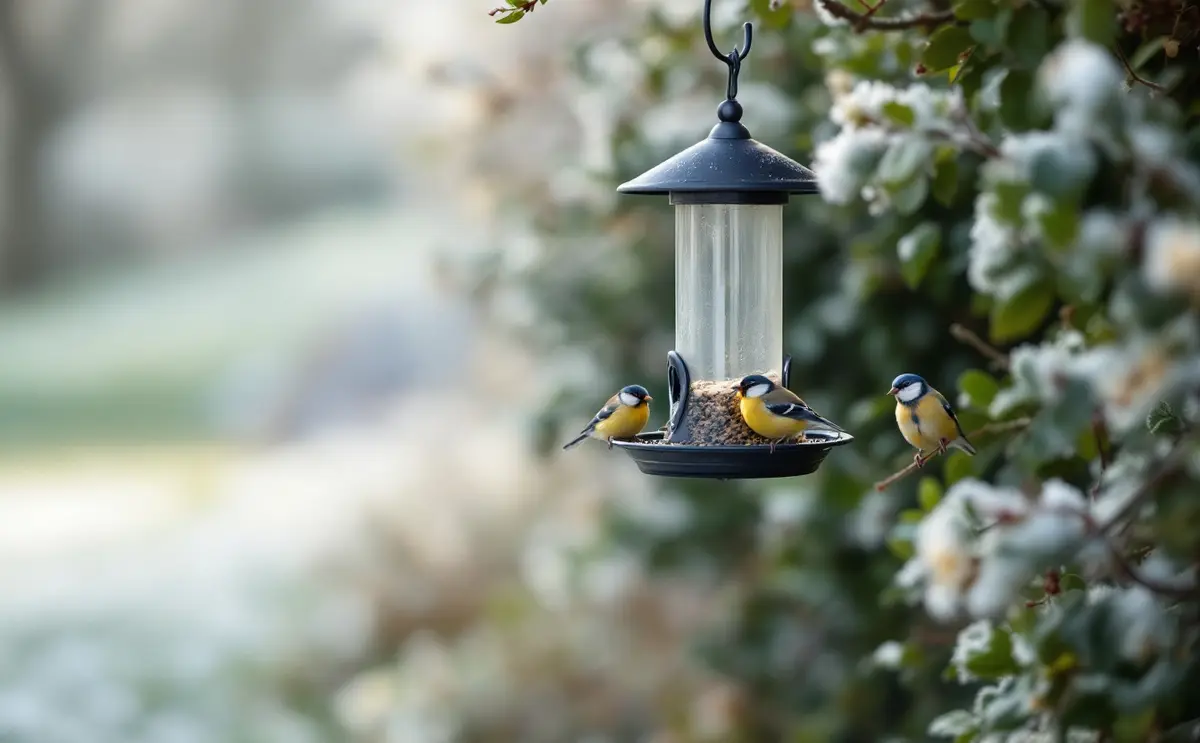
On farmland that may seem unimportant, but close focus is what lets you look at a wren in the hedge bottom beside the path, a butterfly on a knapweed head, or a bird on the feeder from the garden bench. If you like insects and flowers as well as birds, look for a close focus of two metres or less.
Waterproofing and fogging
Chalk paths in winter are wet, and so is the weather. Binoculars described as waterproof have sealed bodies, usually with O-ring seals, and they are filled with nitrogen or argon instead of ordinary air. The dry gas inside means the lenses do not fog up on the inside when you come from a warm car into cold air, and moisture cannot get in to grow mould on the glass.
For walking in all weathers this is the feature I would not do without. Many birding binoculars have it, though not every budget pair does, so check the specification rather than assume.
Roof or Porro prisms
Inside every binocular, prisms turn the image the right way up. There are two main designs.
Roof prisms
Roof-prism binoculars have straight, slim barrels. They are compact, easy to seal against water and comfortable to hold in one hand. The design needs extra coatings on the prisms to give a crisp, bright image: look for "phase-corrected" or "phase-coated" prisms and a reflective mirror coating, often described as dielectric. Most modern birding binoculars are roof prisms.
Porro prisms
Porro-prism binoculars have the familiar zig-zag shape, with the objectives set wider apart than the eyepieces. They give a good sense of depth and can offer fine optics for the money, but they are bulkier and fewer models are fully waterproof.
Coatings and glass
Look for lenses described as fully multi-coated, meaning every glass surface has several anti-reflection layers. Some models use ED (extra-low dispersion) or fluorite-type glass to reduce the coloured fringes you otherwise see round a dark bird against a bright sky. That fringing is most noticeable at 10x and in exactly the conditions farmland birding throws at you: a crow on a pylon, a kestrel against cloud.
Eyecups and glasses
If you wear glasses, eye relief is the figure to check. It is the distance from the eyepiece at which you still see the whole view. With glasses on, your eye sits further back, and with too little eye relief you see a tunnel with a black ring round it. Many glasses wearers find they need around 15mm or more, but the only real test is to try.
Good binoculars have twist-up eyecups with several click stops. Glasses wearers twist them fully down. Everyone else twists them up until the full circle of view appears with no dark shadows. Folding rubber eyecups on older or simpler models wear out and are harder to set.
Weight on a long walk
The weight is on the specification sheet, and it is worth reading. A full-size 8x42 often weighs around 700 grams, and 32mm models are noticeably lighter. That does not sound much until it has hung round your neck for a four-hour circuit of field edges.
Two things help. A wide, soft neck strap spreads the load. A chest strap system that holds the binocular against your chest, with straps over both shoulders, takes the weight off your neck entirely and stops the binocular swinging when you climb a stile.
If you mostly walk long distances and look at birds in good light, an 8x32 is a strong choice. If you spend a lot of time in dull winter light or at dusk, the extra brightness of an 8x42 earns its weight.
Choosing, step by step
- Decide on 8x or 10x. If you are unsure, 8x is more forgiving and easier to hold steady.
- Decide on 42mm or 32mm, weighing brightness against weight.
- Insist on waterproof and gas-filled.
- Check close focus, field of view and, if you wear glasses, eye relief.
- Try several pairs side by side before choosing.
For many readers that leads to a mid-priced waterproof 8x42 with roof prisms, a decent field of view and a close focus of around two metres. It covers a hedge-top yellowhammer and a distant field of golden plover equally well.
How to try binoculars properly
If you can, try binoculars before you buy, ideally outdoors or through a shop doorway at real distances.
- Set the hinge so the two circles of view merge into one.
- Set the dioptre: close your right eye and focus with the central wheel for the left eye, then close the left eye and turn the dioptre ring (usually on the right eyepiece) until the right eye is sharp too. Without this, no binocular looks its best.
- Look at something with fine detail, such as twigs in a hedge, and check how much of the view is sharp towards the edges.
- Look at a dark object against a bright sky and watch for coloured fringes.
- Turn the focus wheel from close to far. It should move smoothly, without slack, and not take endless turns.
- Hold them for a full minute at eye level. Note whether your arms or your neck complain.
Care in mud and rain
Keep the lens caps on when the binocular is not in use, and the rain guard over the eyepieces. Brush or blow off grit before wiping the lenses, because a grain of flint dust dragged across glass will scratch the coating. Then use a clean lens cloth. After a really wet or muddy walk, a waterproof model can usually be rinsed gently under a cool tap if the maker's instructions allow it, then dried with a soft cloth and left to air at room temperature, out of its case, before it is put away.
Where to use them
A good binocular and a field guide go together. The Collins Bird Guide remains the standard book for telling similar species apart once the binocular has brought them close. For where to look, our guide to farmland birds between Offley and Lilley describes the hedges, stubbles and field margins worth scanning, and the winter bird feeding piece covers the garden end of things. Other walking and wildlife kit is gathered on the rucksack page.

Bryony spends early mornings on field edges listening for skylarks and yellowhammers. She writes about farmland birds, hares, wild flowers and the life of the hedges.